Setting Up Your Raspberry Pi As A Free IoT Cloud Server
Are you, perhaps, looking to build your very own Internet of Things (IoT) server? Maybe you are tired of cloud service limits and complex setups that just cost too much money. Well, imagine having the ability to direct and keep an eye on your devices from anywhere, all without a monthly bill. This guide, you know, will show you how to set up your Raspberry Pi as a free IoT cloud server. It truly lets you manage and watch your gadgets from a distance.
It's quite something, isn't it, to think about taking charge of your smart home or personal projects? Many people, as a matter of fact, feel a bit stuck when cloud platforms come with a bunch of rules and expenses. This is where your small, powerful Raspberry Pi comes in handy. It offers a very practical way to make your own cloud space for IoT.
This comprehensive guide, you see, will walk you through the entire process. We will cover everything from the things you need for hardware to getting your software ready and sorting out your network connections. You can, for instance, get free access to a platform on one of the Chipchop community engines to try things out, test ideas, run your own projects, and just play around for personal use.
- Nicole The Challenge
- Hollywood Beach Marriott
- Liverpool Fc Vs Arsenal Fc Lineups
- True Fab Seattle
- Syracuse Womens Basketball
Table of Contents
- Why Build a Free IoT Cloud Server?
- What You Will Need
- Getting Your Raspberry Pi Ready
- Choosing Your Free IoT Platform
- Connecting Your Raspberry Pi to the Cloud
- Making Your Connection Safe and Sound
- Expanding Your IoT Server Possibilities
- Frequently Asked Questions
Why Build a Free IoT Cloud Server?
The idea of having your own IoT cloud server, especially one that costs nothing, is really appealing. Many paid cloud services, you know, come with monthly fees that add up, and they often have restrictions on how much data you can send or how many devices you can connect. This can be a bit frustrating for hobbyists or those just starting out.
Building your own server on a Raspberry Pi, on the other hand, gives you a lot of freedom. You get to decide how things work, and you avoid those annoying limits. It’s a pretty smart way to keep your projects going without breaking the bank. Plus, it's quite satisfying to put something like this together yourself.
This approach also gives you more privacy. Your information, you see, stays more private when it's on your own server rather than on a big company's cloud. For many IoT projects, this level of control and security is, frankly, very important. It’s like having your own little digital fortress.
What You Will Need
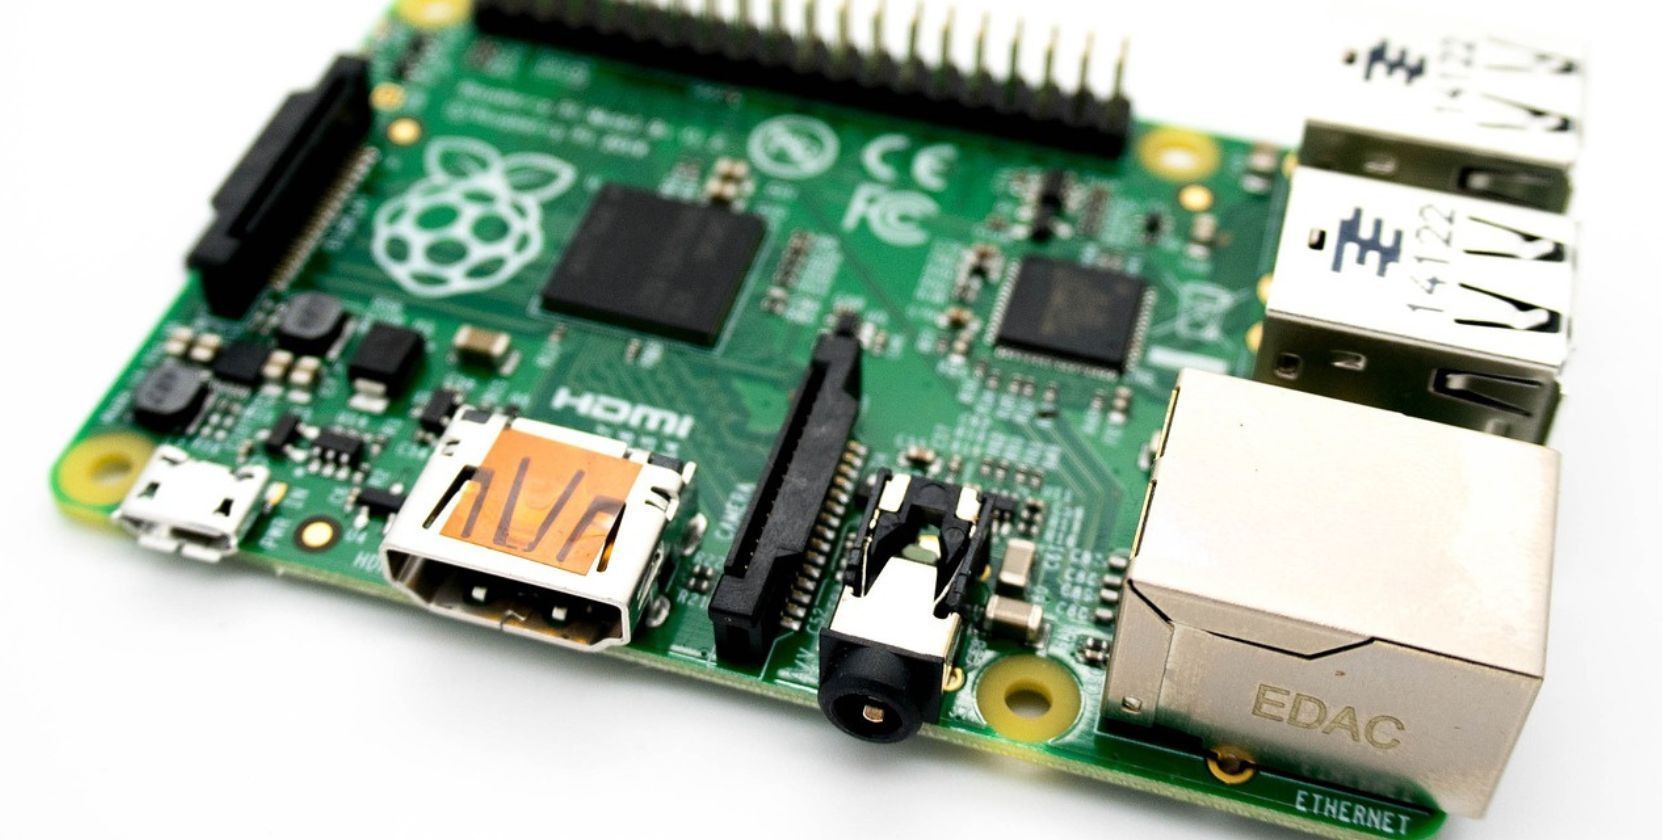
To get started with your free IoT cloud server project, you will need a few key items. First off, you'll need a Raspberry Pi board. A Raspberry Pi 4, for instance, is a very good choice because it has plenty of processing ability and memory for these kinds of tasks. Earlier models can work too, but the Pi 4 offers a smoother experience, more or less.
You will also need a microSD card, perhaps one with at least 16GB of storage. This card will hold the operating system and all your project files. A good quality card, by the way, will make a difference in how quickly your system runs. You'll also need a power supply that matches your Raspberry Pi model, as well as a monitor, keyboard, and mouse for the initial setup.
Beyond the hardware, you'll need an internet connection, naturally. This allows your Raspberry Pi to talk to your devices and, if you choose, to external cloud services or to let you access it remotely. Some basic knowledge of Linux commands will also be very helpful, though this guide will, you know, explain the main steps clearly.
Getting Your Raspberry Pi Ready
The first step in making your Raspberry Pi into a server is to get it set up with the right software. This part is pretty straightforward, actually, but it’s very important for everything else to work correctly.
Installing Raspberry Pi OS
Your Raspberry Pi needs an operating system to function, and Raspberry Pi OS (formerly Raspbian) is the official and most recommended choice. You can download the image file from the official Raspberry Pi website. It's available in different versions, so you can pick the one that fits your needs, perhaps the "Lite" version if you want a very minimal setup without a desktop environment.
Once you have the image file, you'll need a tool like Raspberry Pi Imager to write it onto your microSD card. This tool makes the process pretty simple. You just select the OS, choose your microSD card, and then let it do its work. Make sure, by the way, to pick the right drive so you don't accidentally erase something important.
After the imaging process is done, you can take the microSD card out of your computer and put it into your Raspberry Pi. Then, you connect your monitor, keyboard, and mouse, and plug in the power. Your Raspberry Pi should boot up, and you'll see the Raspberry Pi OS loading. This is, you know, the real beginning of your server project.
Basic Setup and Updates
When your Raspberry Pi OS first starts, you will likely go through a setup wizard. This wizard helps you configure your country, language, time zone, and, very importantly, connect to your Wi-Fi network. You'll also be prompted to change the default password, which is a good security practice.
Once you're logged in, it's a good idea to update your system. Open a terminal window and type these commands, one after the other: `sudo apt update` and then `sudo apt upgrade`. These commands, you see, fetch the latest software information and then install any available updates. This ensures your system has the newest features and security fixes.
Keeping your system updated is, you know, a very simple way to make sure everything runs smoothly and stays secure. It also helps prevent problems with software compatibility later on. This basic preparation is, honestly, a foundational step for any project on your Pi.
Choosing Your Free IoT Platform
Now that your Raspberry Pi is ready, you need to decide how it will act as an IoT cloud server. There are a few ways to approach this, depending on how much control you want and what kind of projects you have in mind. Some options, by the way, are truly free, while others might have very small limits for their free tiers.
My research, as a matter of fact, showed that many free IoT cloud platforms often come with limitations that don't look very appealing. That's why, I mean, using your Raspberry Pi 4 for this makes so much sense. You get more flexibility.
Adafruit IO: A Good Starting Point
One of the simpler options for connecting your Raspberry Pi to a cloud service for free is Adafruit IO. It's a pretty user-friendly platform that lets you send sensor data and control things. It's free, at least for small amounts of data, which is perfect for many personal projects.
With Adafruit IO, you can create "feeds" to send your Raspberry Pi's sensor data to. You can also build simple dashboards to see your data and create "triggers" to make things happen based on that data. Your Raspberry Pi can send this information using a REST API or other interfaces that Adafruit IO offers.
This approach, you know, is a good way to get started without setting up a full server from scratch on your Pi. It uses an external service, but it's free for light use, which is a pretty good deal for many people just starting out with IoT.
Open-Source Options for Your Own Server
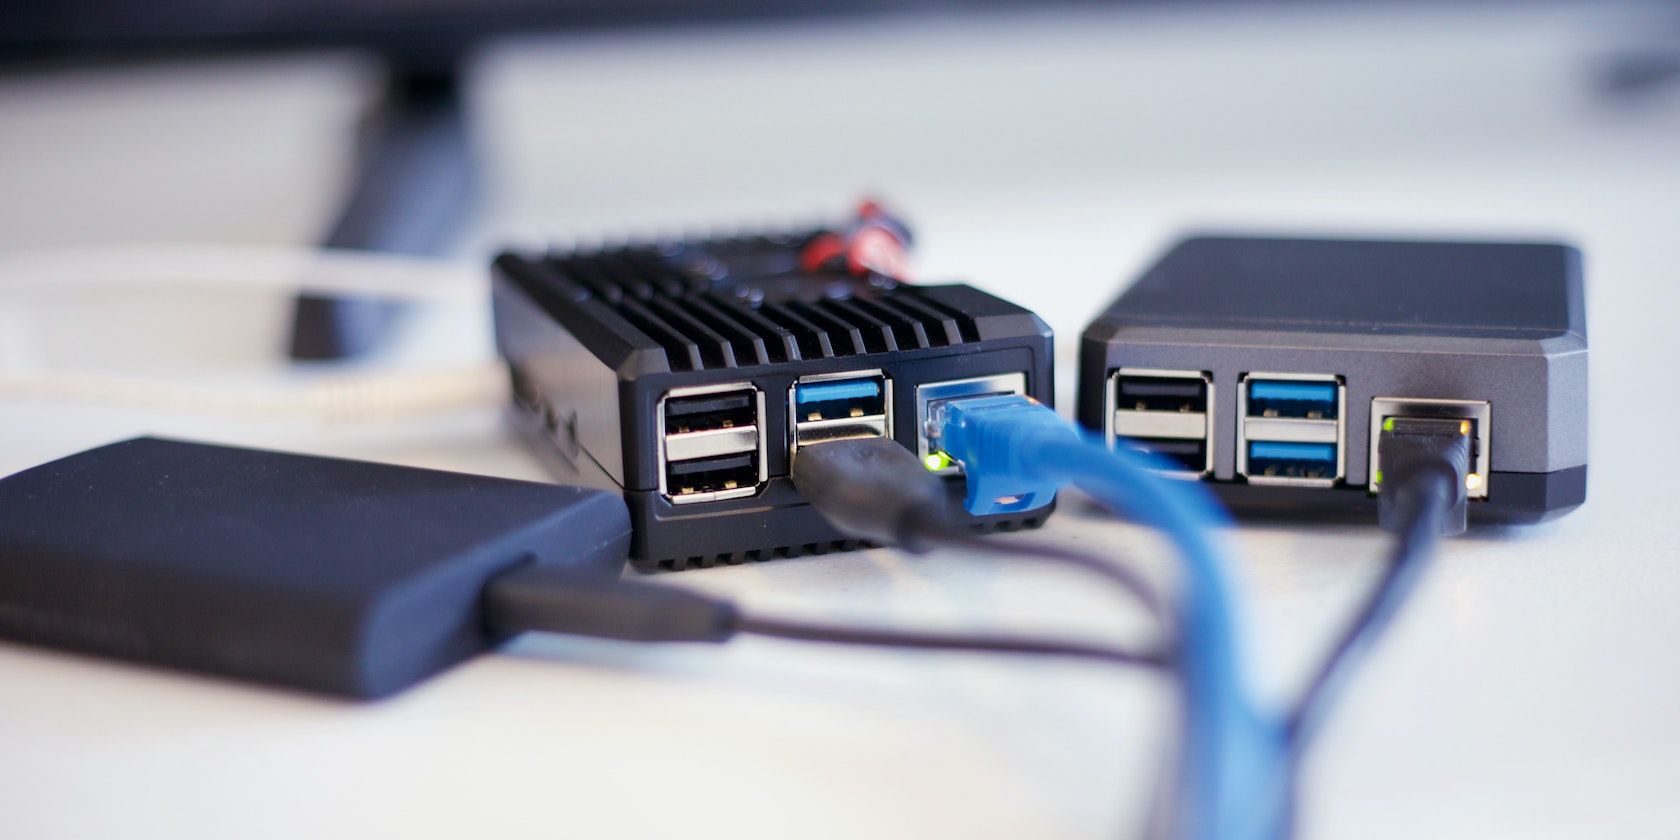
If you want full control and truly want your Raspberry Pi to be the server, open-source software is the way to go. Projects like Node-RED, Mosquitto (an MQTT broker), or even setting up a simple web server with Python Flask can turn your Pi into a powerful local IoT data hub. These generally don't cost anything beyond your hardware.
For example, you could install Node-RED on your Raspberry Pi. It's a visual programming tool that's very popular for IoT. You drag and drop "nodes" to create flows that can collect data, process it, and send commands. It's a pretty intuitive way to build complex IoT logic, and it runs right on your Pi.
Setting up an MQTT broker like Mosquitto, you see, is another popular choice. MQTT is a lightweight messaging protocol perfect for IoT devices. Your devices send their data to the Mosquitto broker on your Pi, and then other applications can subscribe to that data. It's a very efficient way to handle messages between many devices.
Using Machinechat Jedi for Local Data
My text also mentions Machinechat JEDI. This software helps you build a powerful local IoT data server right on your Raspberry Pi. It's designed to collect, store, and visualize data from your devices without needing an external cloud service. This is great if you want to keep all your data within your own network.
Machinechat JEDI offers tools for data collection, a data dashboard, and even ways to create rules for automation. It’s a pretty comprehensive package for managing your IoT data locally. This means your data, you know, doesn't leave your home network, which can be a big plus for privacy and speed.
Using a local server like this, you see, means you are less dependent on internet connectivity for your core IoT functions. Your devices can still talk to your Raspberry Pi even if your internet goes down. This adds a lot of reliability to your home automation or monitoring projects, actually.
Exploring Chipchop Community Engines
As mentioned earlier, you can get free platform access on one of the Chipchop community engines. This is a chance to experiment, test things, run personal projects, or just mess around, anything you want for personal use. It sounds like a pretty good way to try out different ideas without any cost.
These community engines, I mean, likely provide a ready-made environment where you can deploy your IoT applications or connect your Raspberry Pi. It takes away some of the setup headaches you might have if you were building everything from scratch. This can be very helpful for learning and quick prototyping.
It’s always a good idea to check out community resources like this. They often offer support, examples, and tools that can make your IoT journey a lot smoother. Plus, it's a great way to connect with other people who are doing similar projects, you know.
Connecting Your Raspberry Pi to the Cloud
Whether you choose a dedicated free cloud platform or set up your own server on the Pi, the next step is getting your devices to communicate. Your Raspberry Pi can send sensor information to the cloud using a REST API or other interfaces offered by the cloud service provider, or even to its own local server.
For instance, if you're using Azure IoT, as my text suggests, you'll go through basic steps for connecting your Raspberry Pi that's running Raspberry Pi OS to the cloud. This usually involves installing specific software libraries on your Pi and then configuring them to talk to the cloud service.
There are, you know, video tutorials available that can show you how to create a Raspberry Pi IoT server. These can be very helpful for seeing the steps in action. Visual guides, I mean, often make complex processes much easier to grasp.
Sending Sensor Information
To send sensor information, your Raspberry Pi will need to read data from connected sensors. This could be temperature, humidity, light levels, or anything else. You'll typically write a small program, often in Python, that reads this data.
Then, this program will format the data and send it to your chosen platform or server. If you're using an external free cloud service like Adafruit IO, you'd use their specific libraries or API endpoints. If you're running your own server, you might send it via MQTT or an HTTP POST request to your local web server.
It typically costs between $1 and $10 per month for a paid cloud service to handle this, but by using your Pi and free options, you avoid those costs entirely. This is, you know, a very clear benefit of the free IoT cloud server approach.
Controlling Devices from Afar
Controlling devices from a distance works in the opposite way. Your IoT cloud server, whether external or on your Pi, will receive commands. These commands might come from a web interface, a mobile app, or another automated system.
Your Raspberry Pi, running its server software, will then process these commands. For example, a command to turn on a light might trigger a GPIO pin on the Pi, which then activates a relay connected to the light. This allows you to remotely control things in your home or project space.
This remote control ability, you see, opens up endless possibilities for home automation. You could, for instance, turn on your heating before you get home or check if your garage door is closed from anywhere. It's pretty amazing what you can do with a small computer like the Pi.
Making Your Connection Safe and Sound
When you're dealing with remote access and IoT devices, keeping your information private and secure is very important. You don't want just anyone to be able to access your devices or your data.
My text mentions that this guide will show you how to securely connect a remote IoT VPC Raspberry Pi using tools you can download for free on Windows, making sure your information stays private. Connecting your remote IoT Raspberry Pi to a VPC (Virtual Private Cloud) securely, especially for free on Windows, is quite doable with the right approach.
Whether you choose VPNs (Virtual Private Networks) or SSH tunnels, these methods add layers of protection. They create a safe path for your data to travel, keeping it away from prying eyes. This is, you know, a very critical part of any IoT setup.
Secure Remote Access
To access your Raspberry Pi server from outside your home network, you need secure remote access. SSH (Secure Shell) is a standard way to do this. It lets you control your Pi's command line over an encrypted connection. You should always use strong, unique passwords for SSH.
For a more advanced setup, you might consider using a VPN. A VPN creates a secure "tunnel" over the internet to your home network. This makes it seem like your remote device is actually inside your home network, which is a very safe way to access your Pi. OpenVPN, for instance, is a popular open-source VPN solution you can set up on your Pi.
Another option, if you're using a cloud service like Azure IoT or AWS (Amazon Web Services), is to use their built-in secure connection features. These services often provide secure device enrolment, automated firmware builds, and OTA (Over-The-Air) updates, which are all pretty big benefits in a single package.
Data Privacy and Protection
Keeping your data private means making sure it's only seen by those who should see it. If you're running a local server on your Pi, your data stays within your home network, which is inherently more private. You have full control over it, more or less.
If you send data to an external free cloud service, check their privacy policies. Even free services should have clear rules about how they handle your information. You know, it's always good to be aware of what happens to your data.
Encrypting your data, both when it's stored and when it's moving, is another layer of protection. Many communication protocols, like HTTPS for web traffic or TLS/SSL for MQTT, provide this encryption automatically. Making sure these are used correctly is, you know, very important for keeping your information safe.
Expanding Your IoT Server Possibilities
Setting up a Raspberry Pi as a cloud server, even a free one, opens up a lot of possibilities beyond just basic IoT. You can use it for personal cloud storage, stream media around your home, or build more complex home automation systems. The Pi is, you know, a very versatile little machine.
You can also connect your Raspberry Pi to different kinds of IoT devices. Most of these platforms provide an API to support the Linux hacker board, making it easy to integrate various sensors and actuators. This means you can add new gadgets to your system as your projects grow.
Automating and streamlining your IoT device deployment process is another area where a Pi server can help. You can use it to manage firmware updates for your devices, or to enroll new devices securely onto your network. This makes managing many IoT devices much simpler.
There's a ton of stuff to do beyond just the basics, you know. You can explore machine learning on the edge, create custom dashboards, or even integrate with voice assistants. The community around Raspberry Pi and IoT is very active, so you'll find lots of ideas and support. Learn more about Raspberry Pi projects on our site.
For the majority of IoT projects, a Raspberry Pi can be a very capable and cost-effective solution. It gives you the freedom to experiment and build without the high costs often associated with commercial cloud services. This is, honestly, a pretty empowering feeling. You can also link to this page to discover more IoT solutions.
Frequently Asked Questions
Can Raspberry Pi be used as a cloud server?
Yes, absolutely! A Raspberry Pi can definitely be used as a kind of cloud server, especially for personal use or small projects. It has enough processing ability and connectivity to handle various server tasks, like storing data, running web applications, or managing IoT devices. It's not quite the same as a massive commercial cloud, but for your own needs, it's very effective.
How do I set up IoT on Raspberry Pi?
Setting up IoT on your Raspberry Pi generally involves a few steps. First, you get your Raspberry Pi ready with its operating system. Then, you connect your sensors or devices to the Pi. After that, you install software on the Pi to read data from these devices and send it to your chosen IoT platform or your own local server. This could involve using programming languages like Python and communication protocols like MQTT.
Is Raspberry Pi good for IoT?
The Raspberry Pi is, you know, very good for IoT projects. It's small, it doesn't use much power, and it's pretty affordable. Plus, it has many connection options like Wi-Fi, Bluetooth, and GPIO pins, which are perfect for connecting to sensors and other gadgets. There's also a huge community of users and a lot of free software available, making it a very popular choice for anyone getting into IoT.
Build Your Own DIY NAS Server Using Raspberry Pi 4
3 Raspberry Pi Cloud Storage Software Solutions
Make Your Own Raspberry Pi Email Server
